Dreamy Blur on a Dime: Achieving Stunning Bokeh Without Spending a Fortune
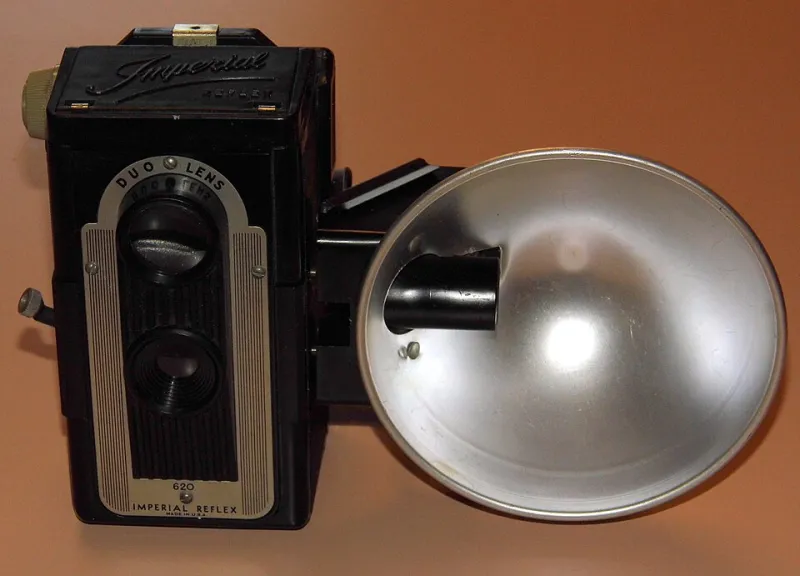
Photo: Joe Haupt from USA, CC BY-SA 2.0, via Wikimedia Commons
The Myth of the Expensive Bokeh
Scroll through any photography forum and you'll find the same tired advice: want beautiful bokeh? Drop a grand on a fast prime. Buy full-frame. Upgrade everything. It's the kind of counsel that sounds authoritative right up until you realize the person giving it just wants to justify their own gear collection.
Here at I Am Bokeh, we believe the blur is democratic. Light doesn't care what you paid for your lens. And honestly? Some of the most gorgeous depth-of-field effects we've ever seen came off cameras that cost less than a weekend trip to Nashville. So let's talk about how to actually get there without emptying your bank account.
Hunt Vintage Glass Like a Pro
This is the single best move a budget-conscious shooter can make. Vintage manual focus lenses — think old Pentax Takumars, Soviet-era Helios glass, or Minolta Rokkors — can be found on eBay, KEH Camera, or local flea markets for anywhere between $20 and $150. And many of them produce bokeh that's not just good, it's character-rich in ways that modern clinical glass can't replicate.
The Helios 44-2, a Russian 58mm f/2 lens, has a devoted following precisely because its slightly imperfect optics create swirling, painterly bokeh backgrounds that look like something out of an art-house film. Pair it with a cheap M42 adapter for your Sony, Fuji, or Canon mirrorless body and you're in business.
A few things to look for when shopping vintage:
- Aperture blades in good shape — oily aperture blades can make the lens sluggish, so ask for photos or videos before buying
- Clear glass — slight haze is sometimes acceptable (and can even add mood), but heavy fungus is a dealbreaker
- Fast maximum aperture — f/1.8 or f/2 will give you far more blur potential than an f/3.5 kit zoom
Spend an afternoon on KEH.com or MPB and you'll quickly realize there's a whole world of affordable glass just waiting to be rediscovered.
Work the Distance Triangle
Bokeh isn't just about aperture — it's about the relationship between three things: your aperture, your distance to the subject, and your distance from the background. Understanding this triangle means you can coax beautiful blur out of even modest equipment.
The formula is simple: get close to your subject, open your aperture as wide as it'll go, and push your background as far back as possible. A kit lens at f/5.6 shot three feet from a subject with a background 20 feet away will produce noticeably softer backgrounds than most people expect from "slow" glass.
This is especially useful if you're shooting with an APS-C crop sensor camera — something like a Canon Rebel or Sony a6000 series body — and can't afford to go full-frame. You're working with a little less natural shallow depth-of-field than a full-frame shooter, but smart subject placement more than compensates.
Embrace the Nifty Fifty
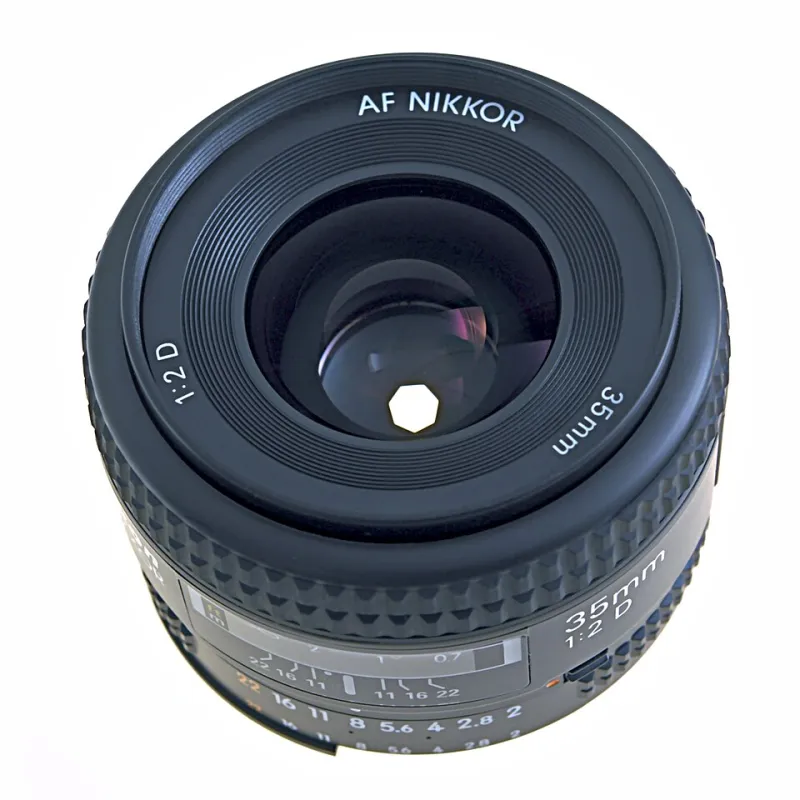
If you do want to buy one new lens, make it a 50mm f/1.8. Canon's version runs about $125. Nikon's is similarly priced. Sony makes one for around $200. These are the most bang-for-your-buck lenses in the entire photography world, full stop.
At f/1.8, a 50mm on a crop-sensor body behaves similarly to an 85mm portrait lens — a classic focal length for subject isolation and creamy background separation. It's lightweight, sharp in the center, and produces bokeh that punches well above its price class. If you've never shot wide open on a fast fifty, you're genuinely missing out.
Use Portrait Mode Strategically (Yes, Really)
Look, we know. Computational bokeh gets side-eyes from purists. But hear us out.
The Portrait modes on modern iPhones and Google Pixel phones have gotten genuinely impressive. When used intentionally — clean backgrounds, good lighting, subjects with defined edges — they can produce results that are surprisingly hard to distinguish from optical blur in casual viewing contexts.
The key word is intentionally. Portrait mode falls apart on complex edges like hair, glasses, and objects that partially overlap the background. But for product photography, simple headshots, or social content? It's a legitimate tool. And it costs you exactly nothing if you already own a recent smartphone.
DIY Lens Filters for Creative Bokeh Shapes
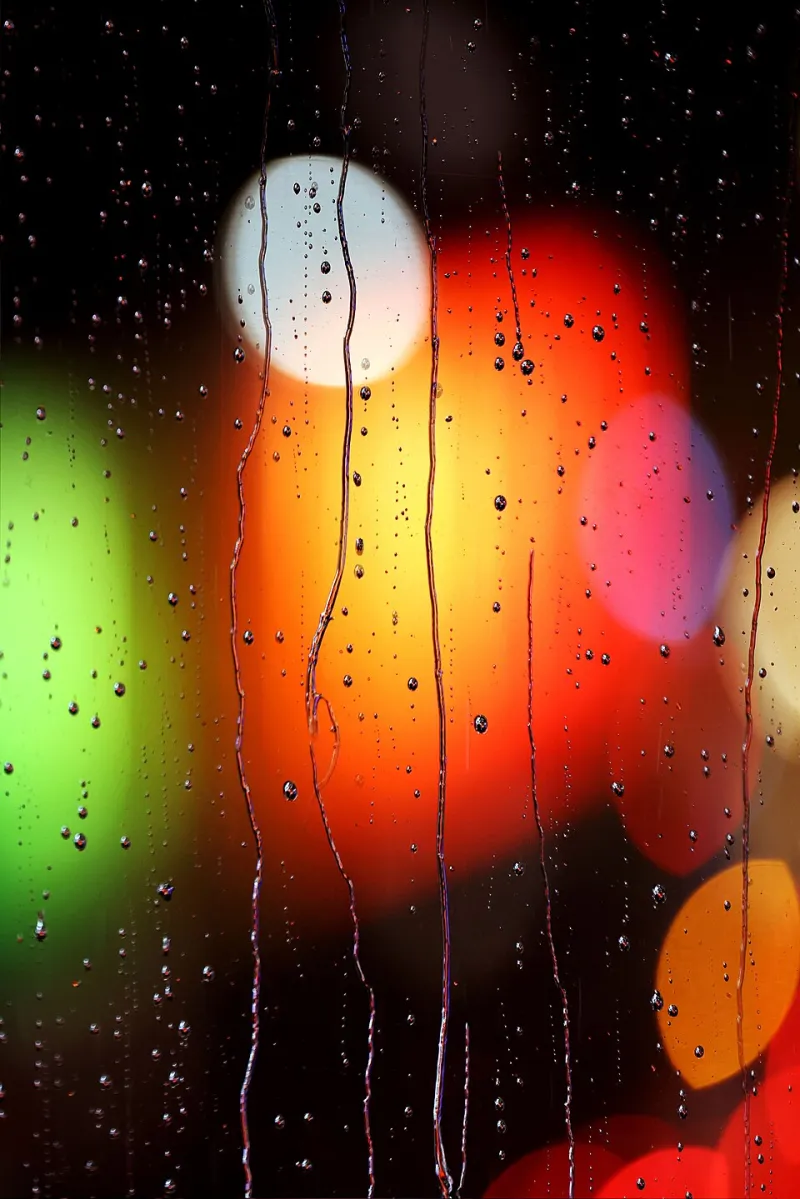
Here's a fun one: you can change the shape of your bokeh highlights by cutting a custom aperture mask out of black cardstock and placing it over the front of your lens. Circular bokeh becomes hearts, stars, or hexagons depending on what you cut.
It sounds gimmicky, but when used with restraint — think fairy lights in the background of a holiday portrait — it adds genuine visual interest. The bokeh shape becomes part of the story. Cut your shapes small, make sure they're centered, and keep the effect subtle. This trick costs you about three minutes and a pair of scissors.
The Real Investment Is Your Eye
Gear matters, but it matters less than most gear-focused conversations suggest. The photographers who consistently produce stunning depth-of-field work aren't necessarily shooting with the most expensive equipment — they're thinking carefully about light, subject placement, and background selection before they ever lift the camera.
Find backgrounds with interesting light sources: string lights, windows, foliage with sun filtering through it. These elements render beautifully as bokeh regardless of what glass you're using. Train yourself to see backgrounds as active compositional elements, not just things that happen behind your subject.
Beautiful blur starts in the mind before it ever reaches the sensor. The gear is just how you get it out.